Building the Cashpoint Replica
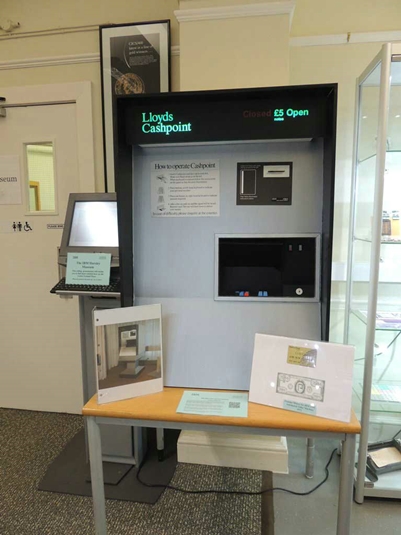
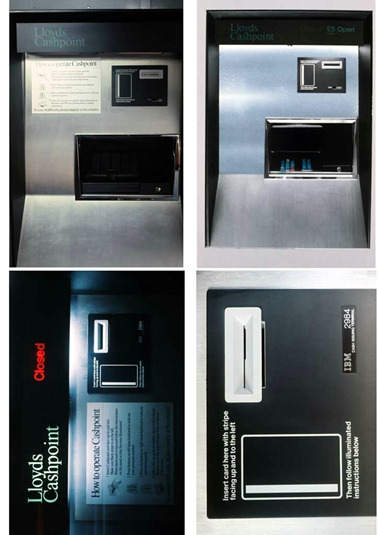
 The IBM 2984 Lloyds Cashpoint was developed in Hursley from hardware initially designed in Raleigh NC. The work was undertaken at the request of Lloyds Bank and involved many modifications to the hardware, including the ability to handle different sized bank notes, and the necessary code to interface with the bank's existing computing infrastructure. In spite of extensive searches within IBM and the bank no 2984 could be found. The curators decided that a replica would be a suitable addition to the museum displays.
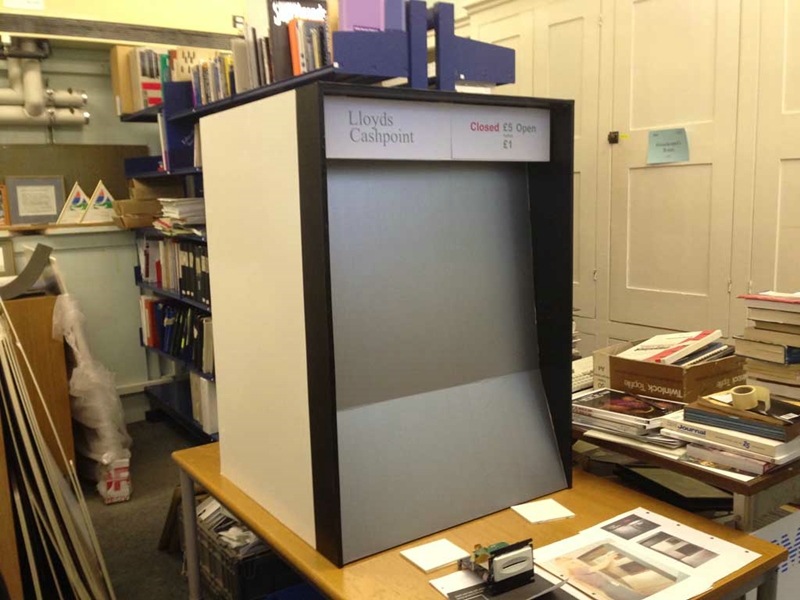
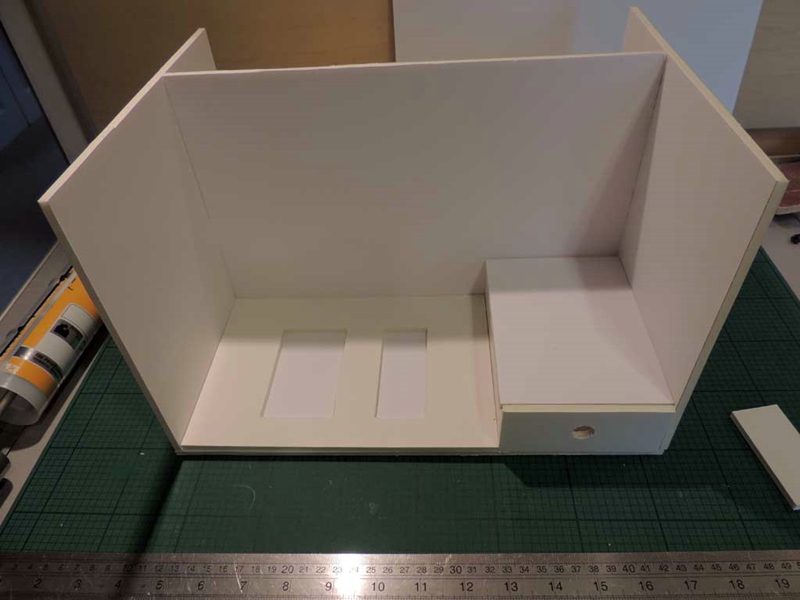
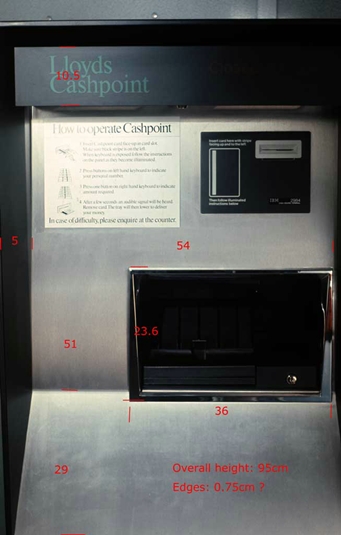
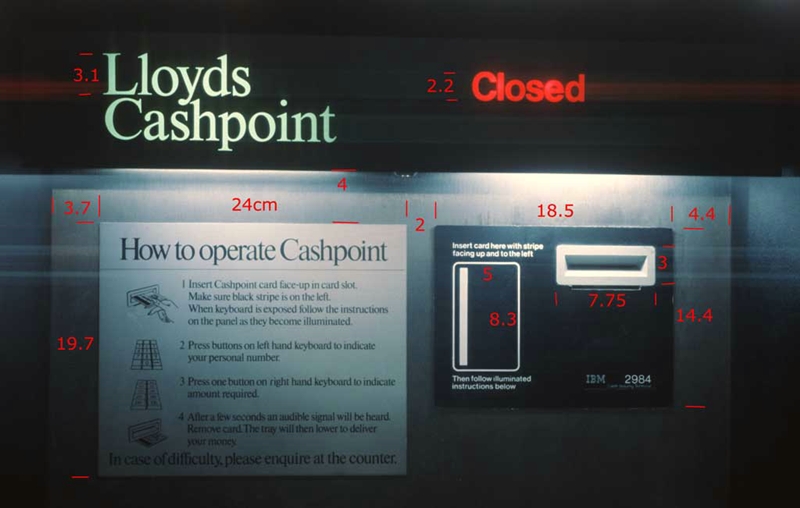
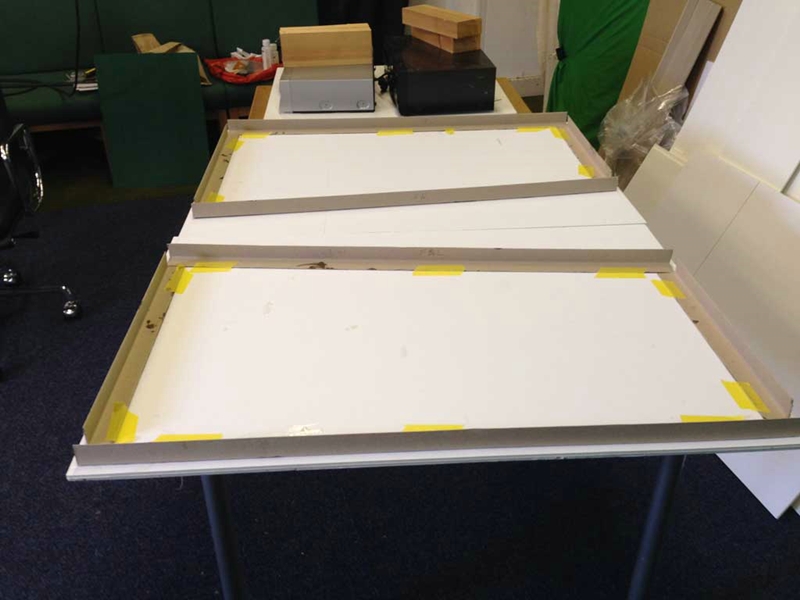
Peter Short undertook the work. With only photographs and an original instruction panel, the first task was to produce a set of dimensions, followed by deciding which materials to use. Peter chose FoamBoard as a suitable material for the main structure, with corners reinforced by cardboard 90 degree strip of the kind used to protect the edges of items being shipped.
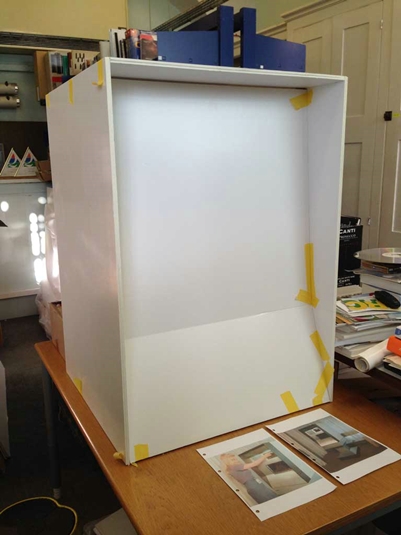
The outside panels were cut and laminated in two layers with epoxy resin, to prevent warping, and the reinforcement also epoxyed in place. The side panels, base, top and front were joined with No More Nails to produce the basic box.
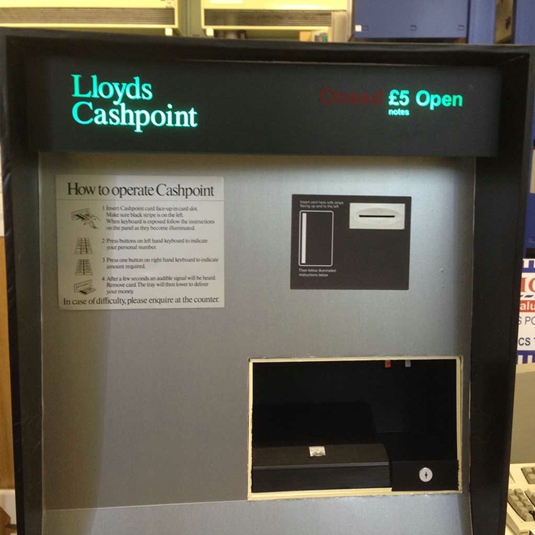
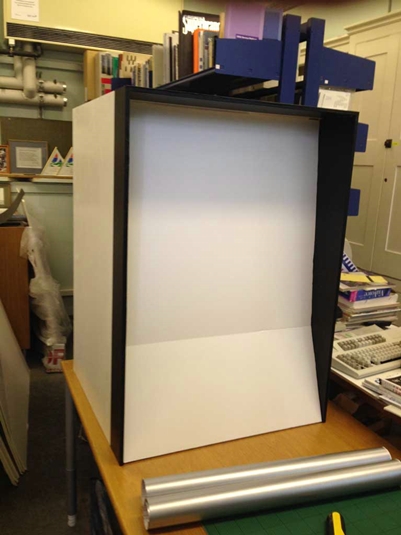
To simulate the brushed steel front panel and black surround, adhesive vinyl was used.
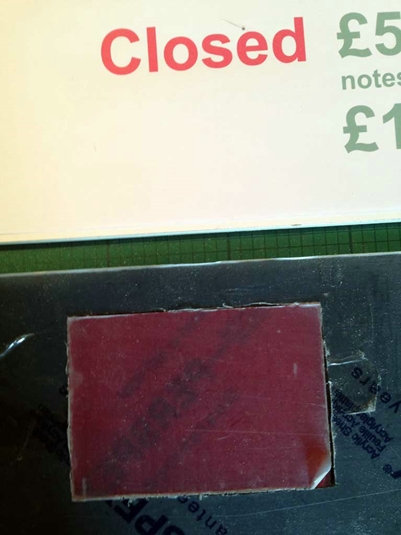
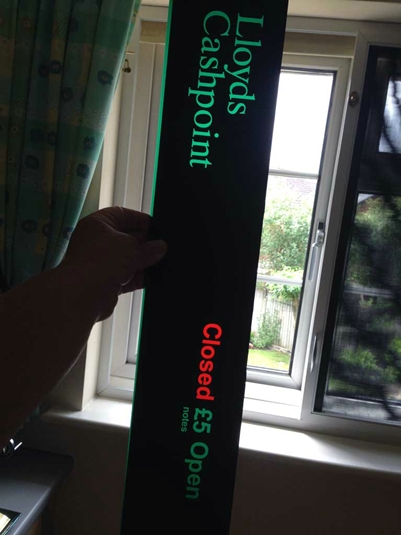
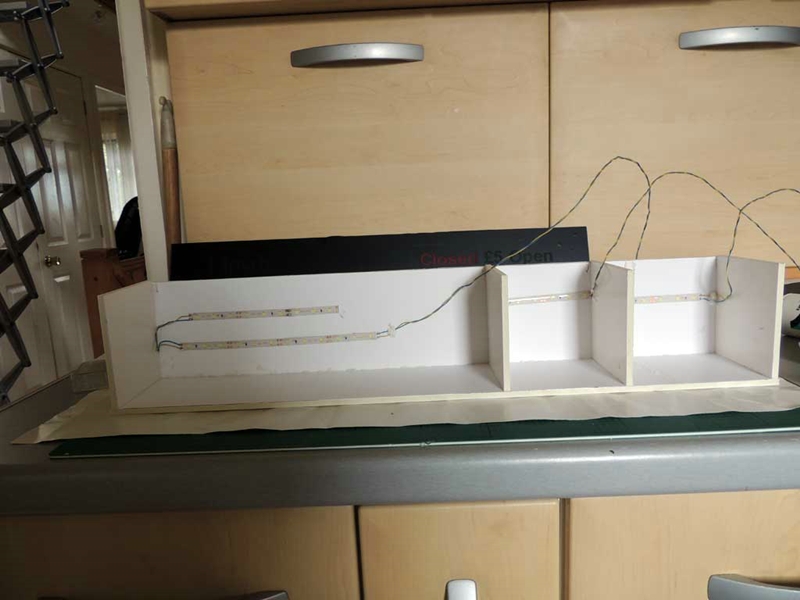
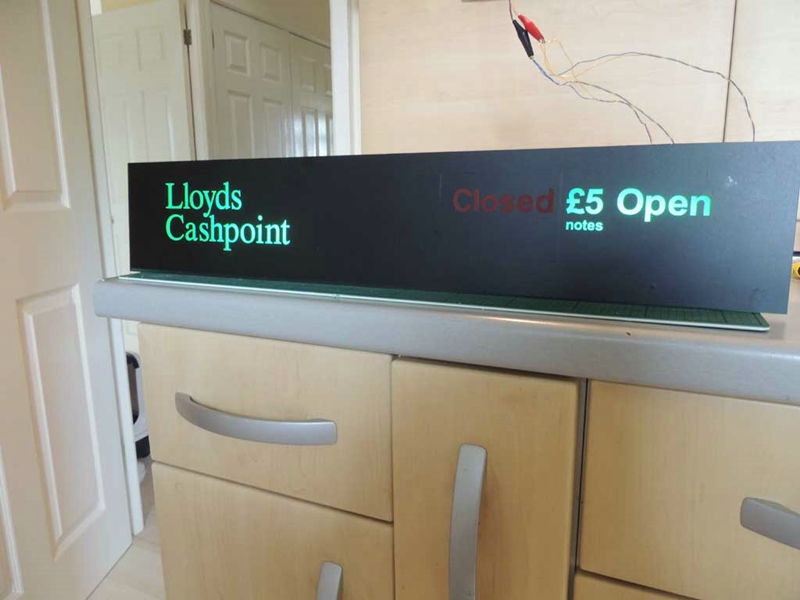
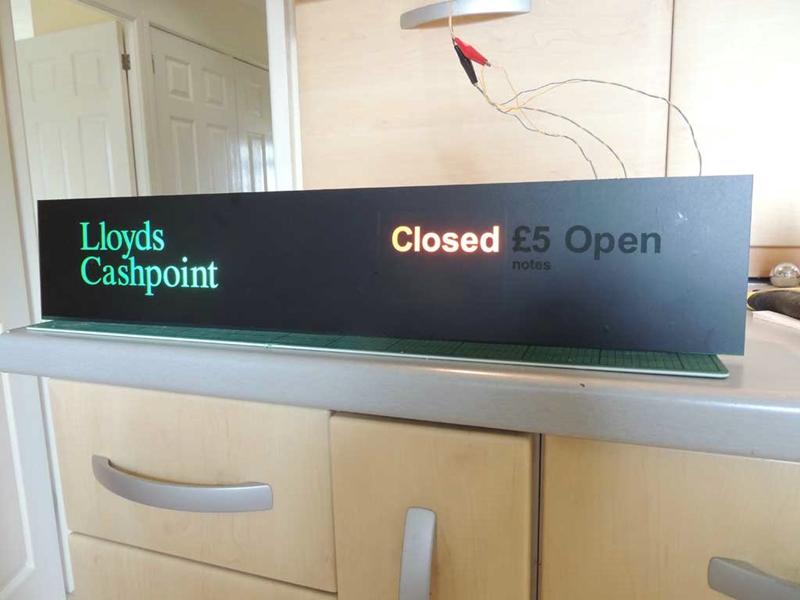
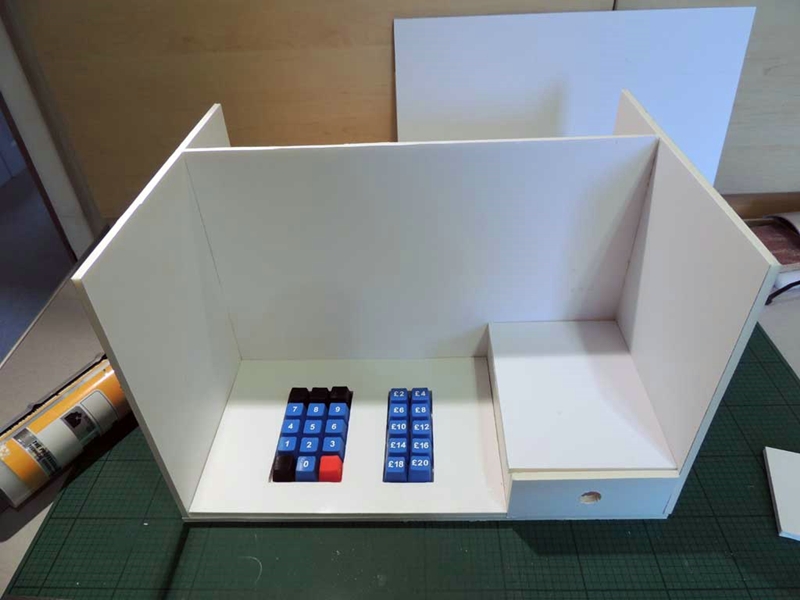
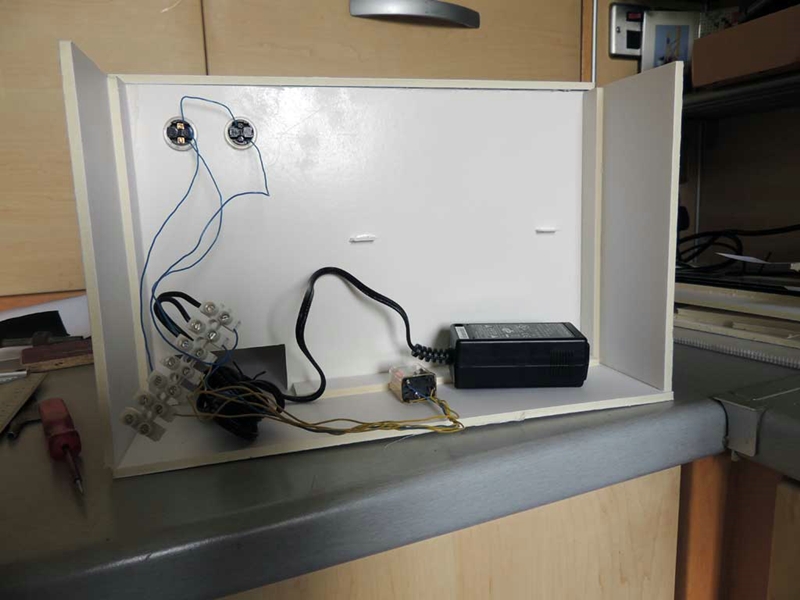
That left the top illuminated panel and the 'works'. The top panel consists of a piece of frosted green Perspex with a small red insert, fastened to a box structure with internal dividers.The lettering is black adhesive vinyl and illumination is provided by LED strips. The lettering was designed in Photoshop and sent to a supplier who laser cut the vinyl.
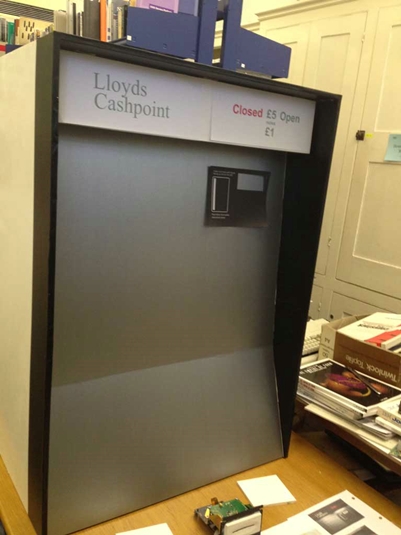
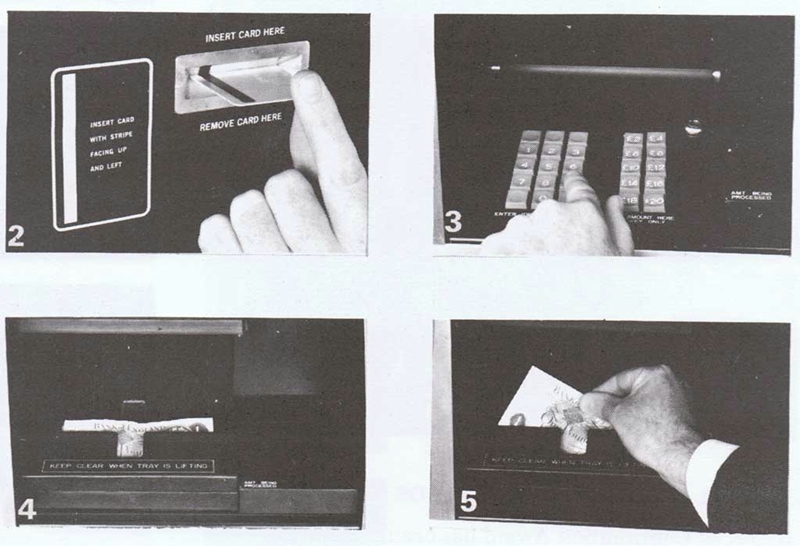
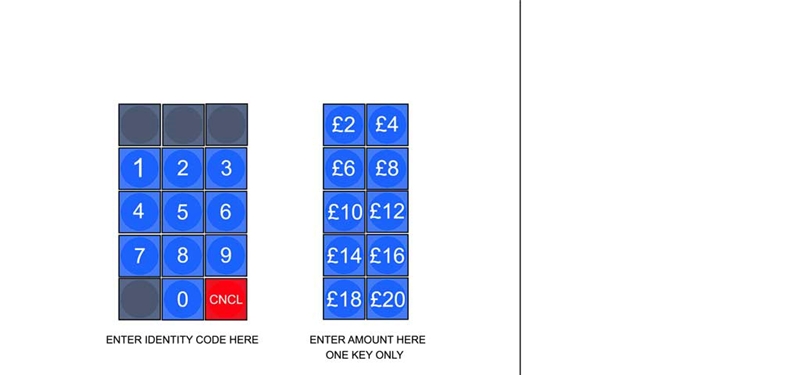
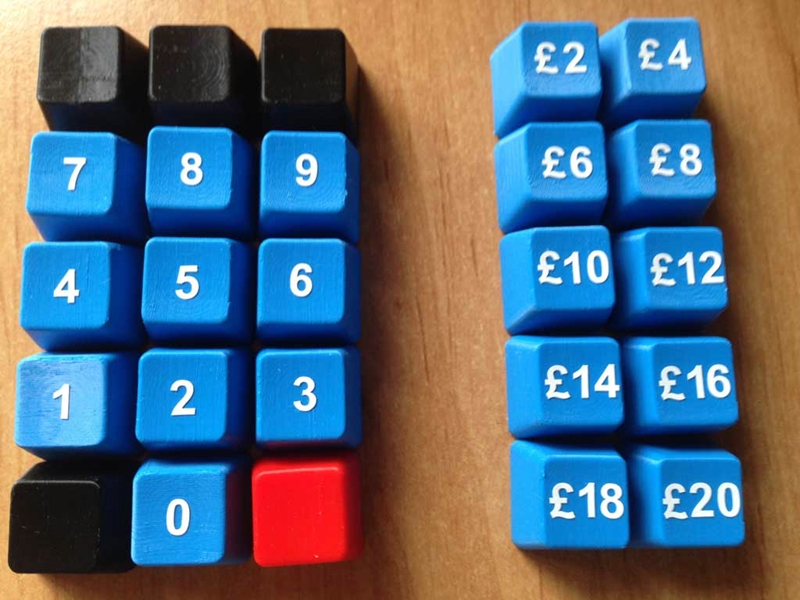
The magnetic stripe reader was removed from an old point of sale system, the front painted white and glued into a suitable aperture. The surround with instructions was designed in Photoshop and printed on card. The mechanism is constructed from FoamBoard. The keyboard keys were designed and 3D printed at home, and lettering applied with vinyl stickers. These are hidden by a black plastic panel that hinges up to show machine operation and down to reveal the 2984 test money. The original instruction panel was added to complete the picture, with a balsawood surround to finish off the 'works'.
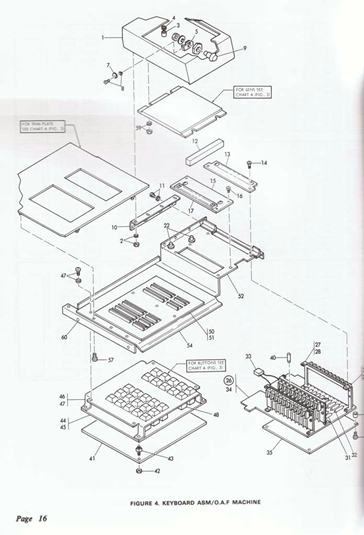
One item could not be reproduced as no photographs were found showing the series of lights and instructions that appeared to the right of the keyboards. We do have a parts catalogue for the 2984 but it does not show that level of detail. The keylock to the front of this panel was simulated with a printout from Photoshop.

![]()